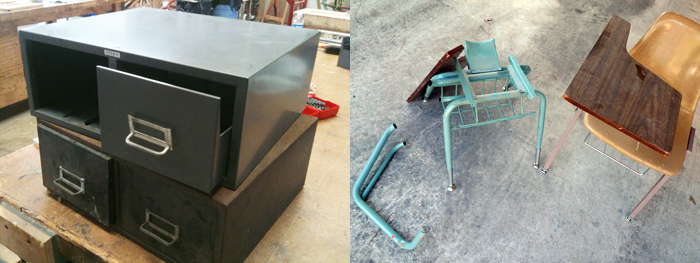
A while back I came across a couple of old file boxes at at Paul Nerren’s junk shop in Lufkin, Texas. I got the idea that it would be neat to put one together with an old school desk, specifically the kind with a book rack underneath. I hit the desk jackpot this year at a university property auction, but I’ve also seen them at roadside sales and flea markets.


First, I cut the seat back and desktop supports from the base of the desk. The file box would be mounted on the remaining structure, which needed a bit of attention by a hammer and grinder to flatten out the existing seat supports. In addition, the swivel glide feet were removed and the file box disassembled. Please note that the initial desk images shown here are not of the desk I ended up using, but should still give you a good idea of what I started with.


I had to craft a wooden support in order to properly mount the file box at the correct angle. All mounting holes were drilled in the box and leg structure at this point, including a couple of screw holes used to secure the plywood drawer liners. I took care to make sure any mounting locations won’t interfere with the drawer guides.

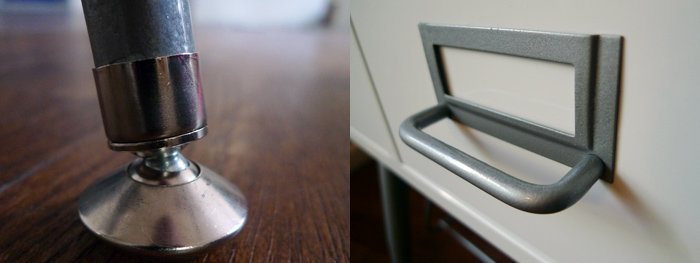
I sandblasted the box, legs, and handles before priming the surfaces. While I blasted the legs down to bare metal, I only hit a few rusty spots on the box. The legs and drawer handles were finally finished using Rust-Oleum Hand Hammered spray paint. I was really concerned about the durability of the box surface, so I had a local body shop apply a white base coat – clear coat finish. I was very specific about finishing all sides of the box inside and out, with extra attention to the inside of the drawers.


One of the more difficult aspects of the project involved the feet. These are called swivel glides and are held in place by circular disks (think tiny throwing stars) which grip the inside of the leg tubing. There is no easy way to remove these glides. I used vise grips clamped around the swivel and hammered them off, destroying them in the process. Swivel glides are readily available online, as is a heavy forked tool that can be used to remove and install the glides.

The drawer liners were cut and fitted before the drawers were painted to avoid damaging the paint. The liners are 3/8 inch Baltic Birch plywood with solid Maple blocks closing the back of the drawers. The wood was finished with spray polyurethane and lightly sanded between coats. I learned it’s a bad idea to use steel wool on unfinished wood, as tiny bits of the wool will stay behind and make the wood appear dirty.
The nightstand was finally assembled with stainless steel fasteners.
